Note: This is not so much a tutorial, as a list of the steps that worked for me.
Experiment, have fun and learn!
The application used in this example is: Photoshop 7.0
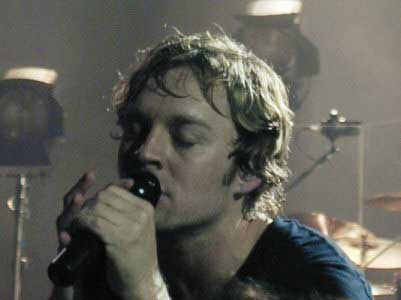
1.)selective color correction Open the picture you want to improve and take a good look at it. The darkest point of the image should be black and the lightest point should be white.
If thats not the case open the selective color dialogue (Image / adjustments /selective color).
Select the color you want to adjust from the drop down menu.
On this particular picture I adjusted the blacks by adding 5% more black, the whites by subtracting 30% black.
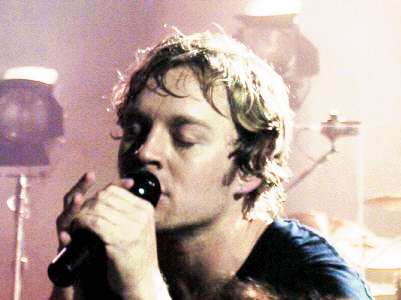
2)Perfect glow Duplicate your background layer and set the top layer to blend mode color dodge. Adjust the opacity of the new layer to give the picture a nice glow. (I settled for 75%) Dont worry if this makes things look a bit grainy, well take care of that in the next step.
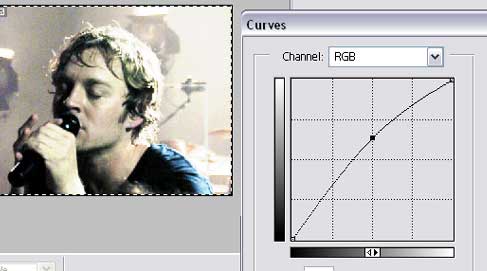
3)Soft touch Flatten your image to one layer. Open the Curves dialogue (image/adjust/curves). Start with the RGB Channel and give the curve a bit of a push upwards in the middle section. Then do the same to each and every of the three other curves ( red, green, blue)
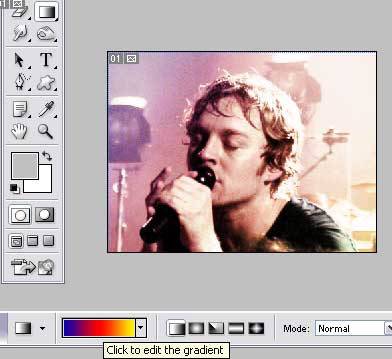
4)Colorize the background The final touch that will make the main focus of the picture stand out even more. Create a new empty top layer and set the blend mode to color. Click on the gradient tool in the toolbox. Click on the dropdown menu to open the gradient editor. Choose one of the presets (or make a new color scheme) and apply the gradient on the empty layer.
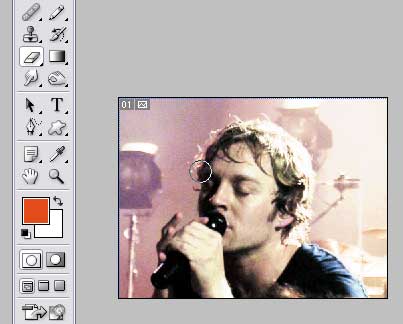
Click on the erase tool, select brush mode and erase areas in the foreground ( the main focus of the image) Adjust the opacity.
And ta-da, you're done! That wasnt too hard now was it?