| |
 |
 |
|
|
Tutorials
|
|
|
Make your own psd brush
|
Make your own psd brush, part 1
Define your very first brush
The application used in this example is: Photoshop 7.0
1.) Preparation
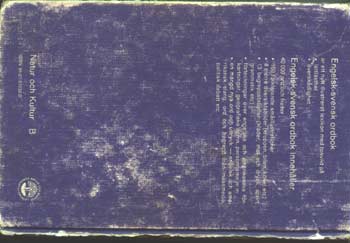
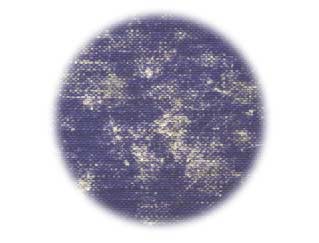
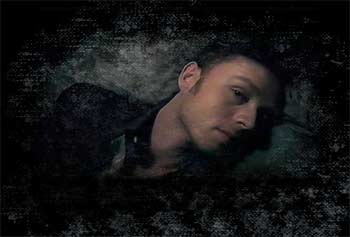
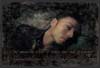
First we need to find a picture suitable for this tutorial. Something with a lot of texture and/or cuts and scratches. Like the picture below, which just happens to be the backside of my Swedish-English dictionary. Its well used, dog eared and perfect for this demonstration. If you dont have a digital camera or a scanner I can recommend Google image search.
2.) Selection
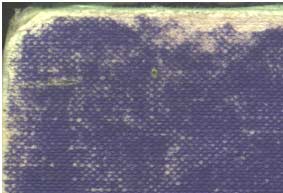
Open your image, and double click on the background layer in the layer palette and pick a cool funky new name for your layer ;) Use the Marquee tool, set feather to 5, and select the most interesting part of the image. I'm using the circular marquee here, but you can use the lasso or rectangular marquee.
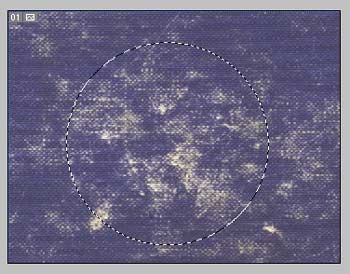
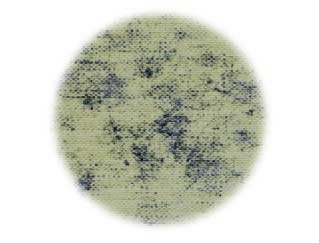
Inverse the selection (ctrl shift I) and press delete. The edges should be soft like in the picture below.
3.) Invert colors
Now, if you're working with a dark background with light-colored scratches, invert the colors (ctrl I or image / adjustments / invert). If you're working on a light colored background with dark grunge, don't invert.
4.) Grayscale
Convert your image to grayscale (Image / mode / grayscale)
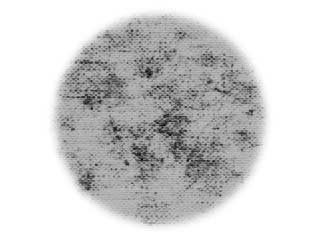
5.) Fine-tuning
Bring out the levels dialogue (Image / adjustments / levels or ctrl L)
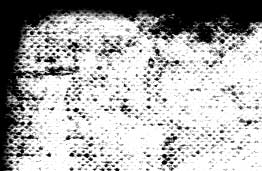
And play around with the controls until you get a nice contrast between the dark scratches/texture and white background (white areas = transparent areas). Click ok when your image looks something like this:
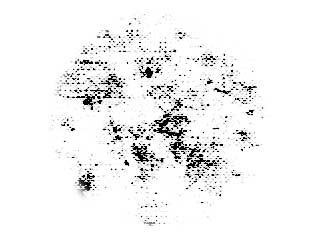
6.) Define Brush
Select all (ctrl A), and click edit / define brush and then ok.
Put your brush in use
................................................
Make your own psd brush, part 2
Paint yourself into a corner
This pretty much just repeats the same process as in part 1, But hey, practice makes perfect, right?!
1.) Preparation
Find a suitable 'corner image', because it's a corner brush we're going to be creating this time
.
2.) Selection
Open your image, and double click on the background layer in the layer palette and pick a cool funky new name for your layer ;) Use the Marquee tool, no feather this time, and select one of the 'corners' of your image. I'm using the rectangular marquee here, but you can use the lasso marquee.
Inverse the selection (ctrl shift I) and press delete.
3a.) Invert colors
Invert the colors, ('image / adjustments / invert')
3b.) Replace colors
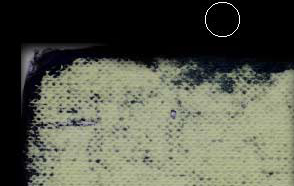
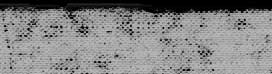
Click image / adjustments / replace colors and use the eyedropper tool to pick what colors to replace. Youll want the corner of your image to be black and the rest of the image as white as possible. The result should look something like the picture below. If necessary you can use a medium sized brush and clean up your image a tad bit.
4.) Grayscale
Convert your image to grayscale (Image / mode / grayscale)
5.) Fine-tuning
Bring out the levels dialogue (Image / adjustments / levels or ctrl L)
And play around with the controls until you get a nice contrast between the dark corner and white background (white areas = transparent areas). Click ok when your image looks something like this:
6.) Define Brush
Select all (ctrl A), and click edit / define brush and then ok.
Put your brush in use
...............................................
Make your own psd brush, part 3
A brush with an edge
Repetition, repetition
. You know how it goes
.
1.) Preparation
Find a suitable image
.

2.) Selection
Open your image, and double click on the background layer in the layer palette and pick a cool funky new name for your layer ;) Use the Marquee tool, no feather this time, and select the part of the image you want to work on.
Inverse the selection (ctrl shift I) and press delete.
3a.) Invert colors
Invert the colors, ('image / adjustments / invert')
3b.) Replace colors
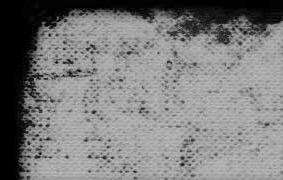
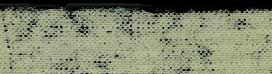
Click image / adjustments / replace colors and use the eyedropper tool to pick what colors to replace. Youll want the top of your image to be black and the rest of the image as white as possible. The result should look something like the picture below. If necessary you can use a medium sized brush and clean up your image a tad bit.
4.) Grayscale
Convert your image to grayscale (Image / mode / grayscale)
5.) Fine-tuning
Bring out the levels dialogue (Image / adjustments / levels or ctrl L)
And play around with the controls until you get a nice contrast between the dark area and white background (white areas = transparent areas). Click ok when your image looks something like this:

6.) Define Brush
Select all (ctrl A), and click edit / define brush and then ok.
Put your brush in use
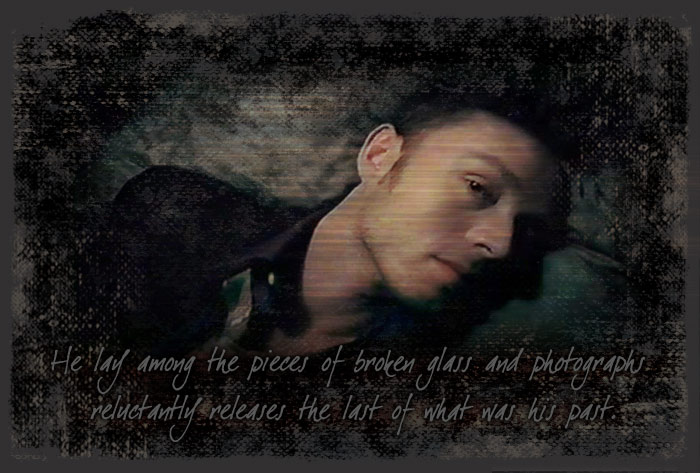
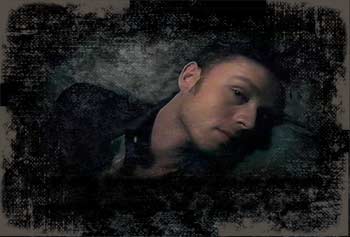
Click on the thumbnail to see the final result:
 |
09 Oct 2005 by nilam
|
0 comments
|
|
|
|
|